Jewelry Advanced Workflow
Summary
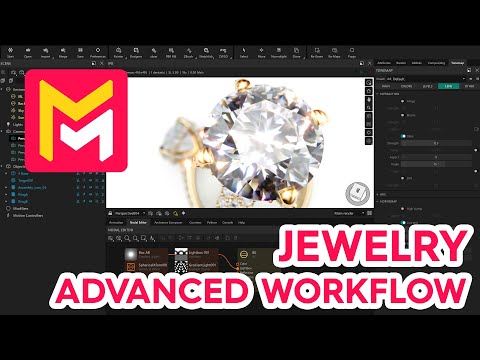
This tutorial outlines an advanced workflow for rendering jewelry scenes in Maverick Render, building upon a scene initiated in Rhino. The process highlights complex techniques for lighting and animating jewelry, emphasizing the use of layer separation for organization. Key steps include transferring the scene to Maverick, applying and organizing materials, and selecting appropriate lighting ambiances. The guide then focuses on advanced lighting strategies, specifically animating the refraction environment for diamonds using IBL overrides and custom gradient lights for enhanced realism and contrast. Finally, it covers excluding metal from diamonds to avoid intersections and utilizing post-production techniques like adjusting contrast and configuring glare for a professional finish.
F.A.Q.
-
What is the main focus of the tutorial? The tutorial focuses on showcasing advanced workflow techniques for lighting and animation specifically for jewelry scenes within Maverick Render, aiming to produce professional-quality video renders of jewelry designs.
-
What is the recommended initial step when preparing a jewelry scene in Rhino for use in Maverick Render? The tutorial emphasizes the importance of separating the objects of the jewelry pieces into distinct layers in Rhino. This facilitates easy selection and separation of different components, like gems and metals, once the scene is imported into Maverick Render.
-
How is the scene transferred from Rhino to Maverick Render? The tutorial mentions using the Rhino Bridge, accessed via a corresponding button, to send the entire scene from Rhino to Maverick Render. This ensures that the model, with its initial material assignments based on color, is available in the rendering software.
-
What is a key organizational step recommended in Maverick Render after importing the scene? After importing, it is highly recommended to group the models logically. This involves selecting the appropriate assemblies for gems and metal from each ring and creating general assemblies that can be easily renamed, allowing for better management and manipulation of the scene's components.
-
How are materials applied to the different parts of the jewelry? Materials are applied by accessing the material library within Maverick Render. Specifically, for gems, users select the gem assemblies and then apply a diamond material from the jewelry section using the context menu. For metals, materials like gold can be directly dropped onto the metal assemblies.
-
What is an advanced lighting strategy demonstrated for enhancing diamonds? The tutorial demonstrates using IBL overrides to animate the refraction environment for diamonds separately. This involves creating a map with a gradient light configured to produce a pattern with increased brightness and contrast, which is then applied spherically to the scene using a spherical form node and connected to the refraction input of the IBL.
-
How is the issue of metal intersecting with diamonds in the rendering addressed? To prevent metal from visually intersecting with diamonds in the render, the tutorial instructs users to select the diamond material, activate the "exclude" option in trace sets, and set an ID (e.g., 2). This same ID is then assigned to the metal objects by disabling the "inherit from parent" option in their object properties, effectively making the diamonds exclude the metal during rendering.
-
How is glare controlled and targeted in the scene? Glare is controlled and targeted by using the edge remapping options in the glare settings. By activating "low-end" and raising parameters, and then activating "high-end" and adjusting the cutoff, users can isolate the specific areas where they want the glare to apply. The multiplier then allows adjusting the intensity of the glare in these targeted areas.