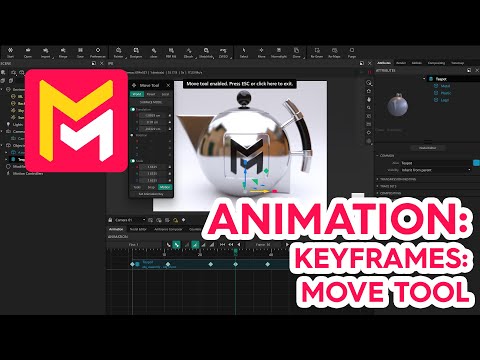
Keyframes with Move Tool
Summary
This tutorial video for Maverick Render demonstrates how to animate objects and lights using keyframes. Users learn to set keyframes for position, automatically creating animation as objects are moved at different frames. The video covers adjusting the easing of movement, duplicating and deleting keyframes, and adding keyframes directly onto existing animation paths to control speed and deceleration. Finally, it shows how keyframes can be combined with other motion controllers and are particularly useful for animating light positions.
F.A.Q.
-
What are keyframes in Maverick Render and how are they used for animation? Keyframes in Maverick Render are used to define the position, scale, or rotation of objects and lights at specific points in time within an animation sequence. By setting keyframes at different frames, Maverick Render automatically interpolates the movement between these points, creating a smooth animation. This allows users to define the trajectory and timing of transformations for various elements in their scene.
-
How do you set animation keyframes for an object like a teapot in Maverick Render? To set an animation keyframe for an object like a teapot, you first select the object and then click on the move tool. Within the move tool panel, there is a section for motion options. Clicking on the "set animation key" button will add a keyframe at the object's current position for that specific frame. Once a keyframe is set, you enter "auto key mode," where any subsequent movement of the object at a different frame will automatically create a new keyframe.
-
What is auto key mode and how does it simplify the animation process? Auto key mode is a feature in Maverick Render where, once an initial keyframe is set for an object's property (like position), any further modifications to that property at a different frame automatically create a new keyframe at that frame. This significantly simplifies the animation process as you don't have to manually set a keyframe each time you move or transform an object.
-
How can you preview the animation created with keyframes in Maverick Render? After setting keyframes at different frames, you can preview the animation by scrubbing the timeline. Scrubbing involves dragging the timeline indicator back and forth, which will show you the interpolated movement of the animated object between the keyframes. Additionally, you can use the play button to watch the animation in real-time.
-
What are easing options for keyframes and how do they affect the animation? Easing options for keyframes in Maverick Render allow you to control the rate of change of an object's transformation between keyframes. By selecting a keyframe in keyframe mode, you can access these options, which include "ease in" and "ease out." Ease in makes the movement start slowly, while ease out makes it end slowly. Combining these can create animations that start slow, speed up in the middle, and end slow, adding more realistic and nuanced motion.
-
How can you manipulate keyframes after they have been created? You can manipulate keyframes in several ways after they are created. By pressing the shift key and dragging a keyframe, you can duplicate it. Keyframes can also be deleted from the context menu. Furthermore, you can add a keyframe on an existing animation path by going to the desired frame and using the "set animation key" option from the move tool, allowing you to refine the movement by manipulating these new keyframes.
-
Can keyframe animation be combined with motion controllers in Maverick Render? Yes, keyframe animation can be combined with motion controllers in Maverick Render. This allows for more complex animations where an object might follow a path defined by keyframes while also undergoing other transformations controlled by motion controllers, such as rotation. The recommendation is generally to use motion controllers for their versatility and ease of adjustment when applicable.
-
How are keyframes used to animate lights in Maverick Render? Keyframes are very useful for easily moving and positioning lights within Maverick Render. You can create a light and, using the move tool panel, set an animation keyframe for the light's current position. By going to different frames and repositioning the light (which can be done by reactivating tools like normalite to focus the light on an object), new keyframes are automatically created. This allows for interactive and easy definition of light movement throughout an animation, which is particularly useful for product animations.
